

Introduction to Scheduled Tasks
Scheduled tasks are tasks that set a time plan so that your business can regularly scale-out or scale-in the number of CVM instances used based on predictable load changes.
For example, traffic to your web application might start to increase each Wednesday, remain high on Thursday, and then begin to decline on Friday. In this case, you can plan your scaling-out activities based on the predictable traffic patterns of your web application.
To create a scheduled scaling, specify the start time when you want the scaling to take effect and the new minimum (minimum number of instances), maximum (maximum number of instances), and desired size (desired number of instances) for the scaling. At the specified time, AS updates the number of instances in the scaling group based on these settings.
You can create a pre-scheduled action to scale only once, or you can create a pre-scheduled action to scale on a recurring schedule.
Managing Scheduled Tasks
- Open the auto scaling console and click Scaling Group in the left sidebar.
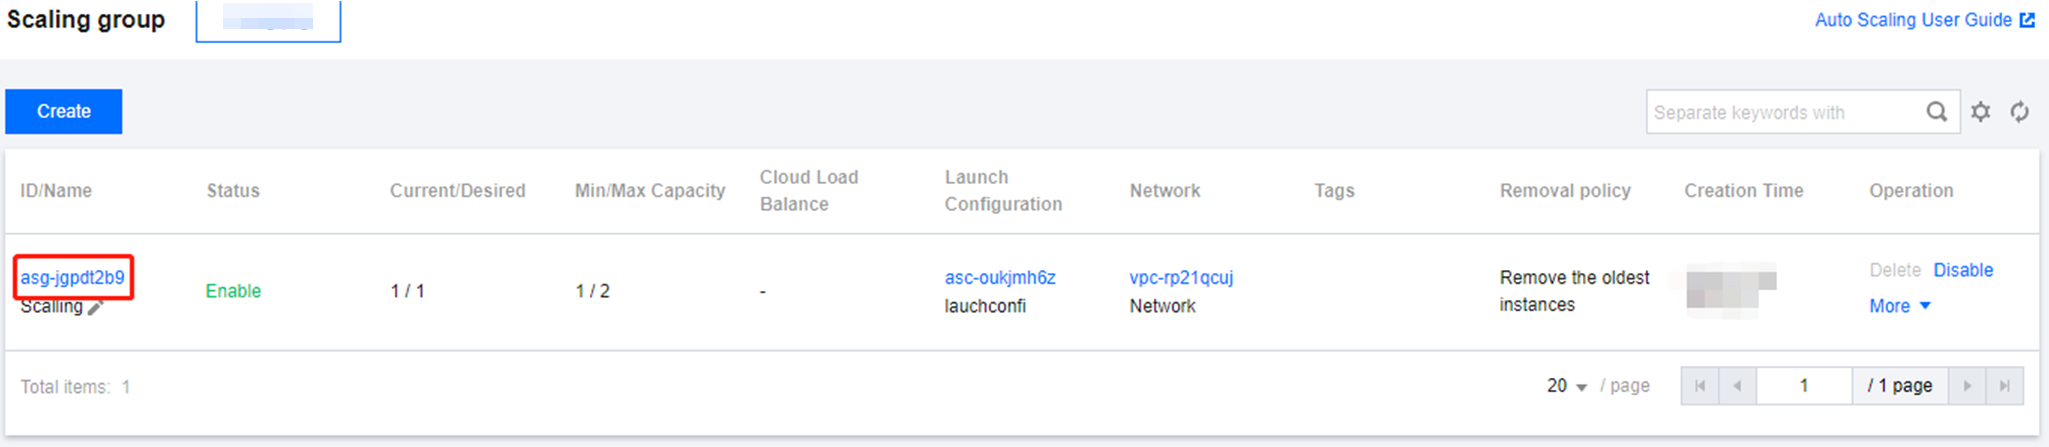
- Select the scaling group to be modified and click Scaling Group ID/Name to go to the scaling group basic information page.
- Select Scheduled Action in the sidebar above to manage scheduled tasks associated with the scaling group.
- Click Create to add a new scheduled task.
- Select a scheduled task and click Modify. In the pop-up page, you can modify the task name, adjust the execution time, set whether to execute periodically and modify the execution activity.
- Click Delete to delete the scheduled task.
If you want to create a recurring task, you can specify a start time, and AS performs the action at that time according to the recurring schedule; if you specify an end time, AS no longer performs the action after that time.
