

Tenant Cloud
Monitor and Operation
Cloud Monitor
Operation Guide
Creating and Managing Alarm Recipient Groups
Alarm recipient groups determine who can receive alarm notifications. You can group people concerned with the same alarms into a group, so when an alarm is triggered, everyone in the group receives the corresponding alarm notification.
Create an alarm recipient group.
- Log in to the cloud platform console, move the mouse pointer over your account avatar, and click Access Management.
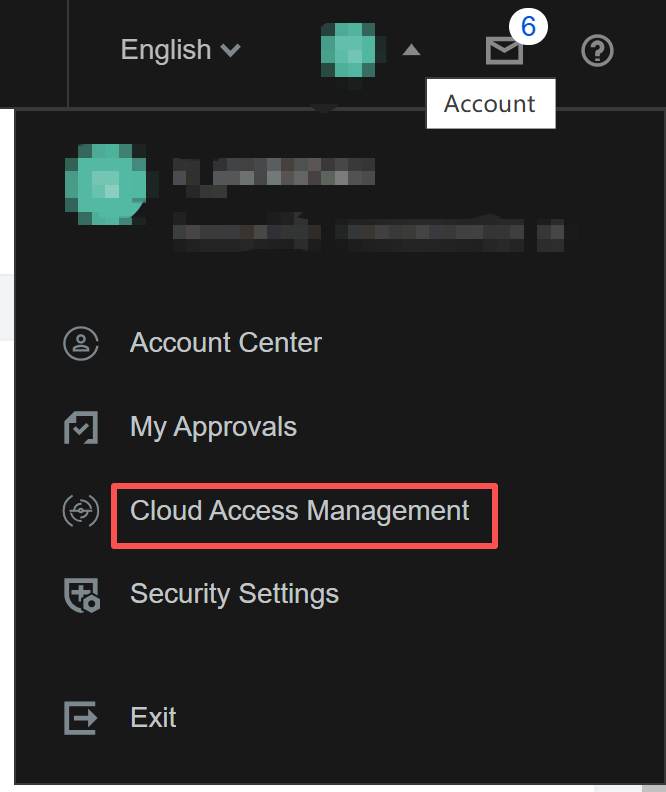
- Choose User Management > User Group.
- Click Create New User Group, fill in the user group name and remarks, and then click Submit to create it successfully.
- In the operation column on the right side of the created user group, click Add User. Alternatively, click the user group name to go to the user group details page, choose the Added Users tab, and click Add User.
- In the pop-up Add User window, select the users you want to add to the user group, and then click OK.
- Log in to the cloud platform console, move the mouse pointer over your account avatar, and click Access Management.
You can also manage and create alarm recipient groups when configuring the alarm notification template.
- Log in to the Cloud Platform console and choose Cloud Monitor > Alarm Configuration > Alarm Policy.
- In the alarm policy list, click the name of the alarm policy you want to associate objects with to enter the Details page.
- In the Alarm Notification module, click Create New Template.
- In the pop-up Create Notification Template box, when a user group is selected as the recipient, click Add User Group to redirect to the CAM console to configure user groups.
Manage an alarm recipient group.
- Log in to the cloud platform console, move the mouse pointer over your account avatar, and click Access Management.
- Choose User Management > User Group.
- If you want to delete a user group, locate it in the user group list, click Delete in the operation column on the right, and then click Confirm to Delete.
- If you want to manage user members in a user group, click the name of the user group you want to manage to go to the user group details page, and choose the Added Users tab.
- If you want to add a user, click Add User. If you want to remove a user, select the user you want to remove, and click Remove User or Remove from Group.
