

After the bucket is created successfully, you can upload objects to the bucket.
Upload Steps
1. Entering the file list
- Log in to the COS console.
- In the left navigation tree, click Bucket List to enter.
- Select the bucket where you want to store objects and go to the file list page.
- On the File List page, click Upload File.
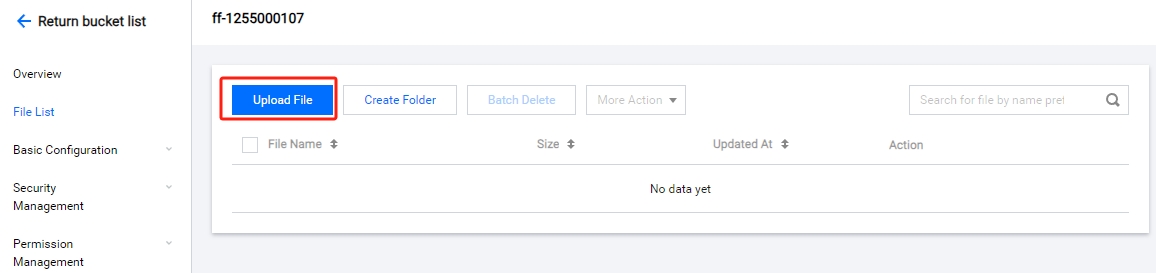
2. Selecting the upload object
- In the Upload File dialog box, click Select File or Select Folder to upload single or multiple local files/folders.
- Select the local object to be uploaded.
- Click Upload to start quickly uploading files or click Next to set object attributes.
3. Setting object attributes (optional)
Set the access permissions and metadata information (optional) of the file to be uploaded and click Upload.
The access permissions are inherited permissions by default, and metadata information can be left blank for now.
After the object is uploaded successfully, the system will automatically refresh the list to obtain the latest object information.
Note:
Some browsers do not support multiple file uploads. We recommend using mainstream browsers such as IE10 or above, Firefox, and Chrome.