

Overview
Microsoft Remote Desktop (MRD) is a remote desktop application for Mac computers provided by Microsoft. This document explains how to quickly upload files from a Mac machine to a Windows Server 2012 R2 operating system on a Cloud Virtual Machine (CVM) using MRD.
Prerequisites
- The local computer has downloaded and installed MRD. You can download it from Microsoft Remote Desktop for Mac.
- MRD supports Mac OS 10.10 and later versions. Ensure you are using a supported operating system.
- A Windows cloud server has been purchased.
Directions
Obtain the Public IP
Log in to the CVM Console, and note the public IP of the CVM where the file needs to be uploaded on the instance list page.
Uploading Files
Launch MRD, and click Add Desktop.
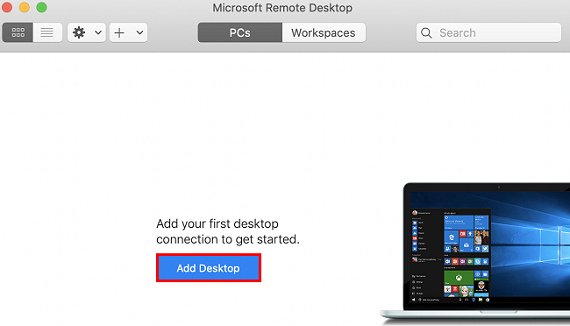
In the pop-up "Add Desktop" window, follow these steps to select the folder to be uploaded and create the connection.
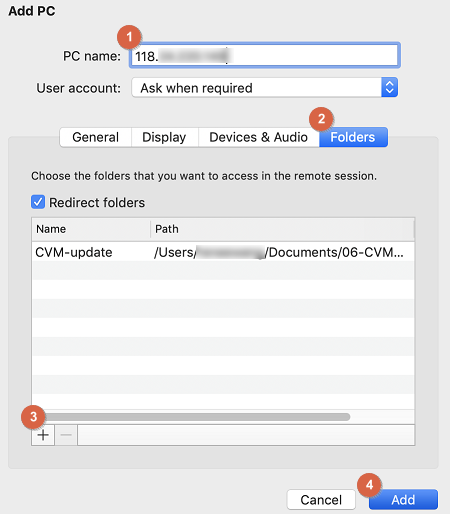
i. Enter the obtained public IP address of the CVM in "PC name".
ii. Click Folders to switch to the folder selection list.
iii. Click at the lower left corner, and in the pop-up window, select the folder you want to upload.
iv. After completing the selection, you can view the list of folders to be uploaded and click Add to confirm the creation.
v. Keep the remaining options at their default settings and complete the connection creation.
You can view the successfully created connection in the window.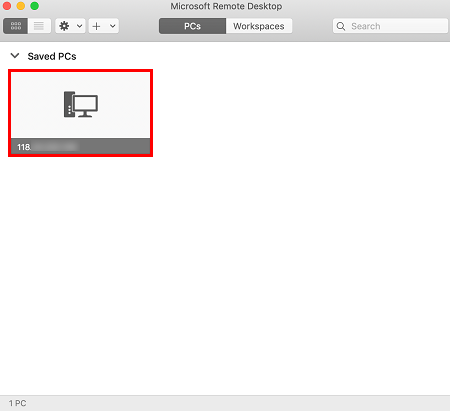
Double-click to open the newly created connection. In the pop-up window, enter the CVM account and password, then click Continue.
Note:
- The cloud server account is 'Administrator' by default.
- If you use the system default password to log in to the instance, please go to the Message center to obtain it.
- If you forget your password, reset the instance password.
In the pop-up window, click Continue to confirm the connection. As shown below:
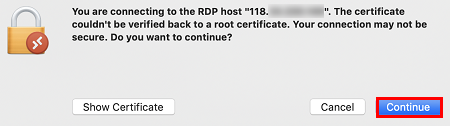
After a successful connection, the Windows CVM interface will open.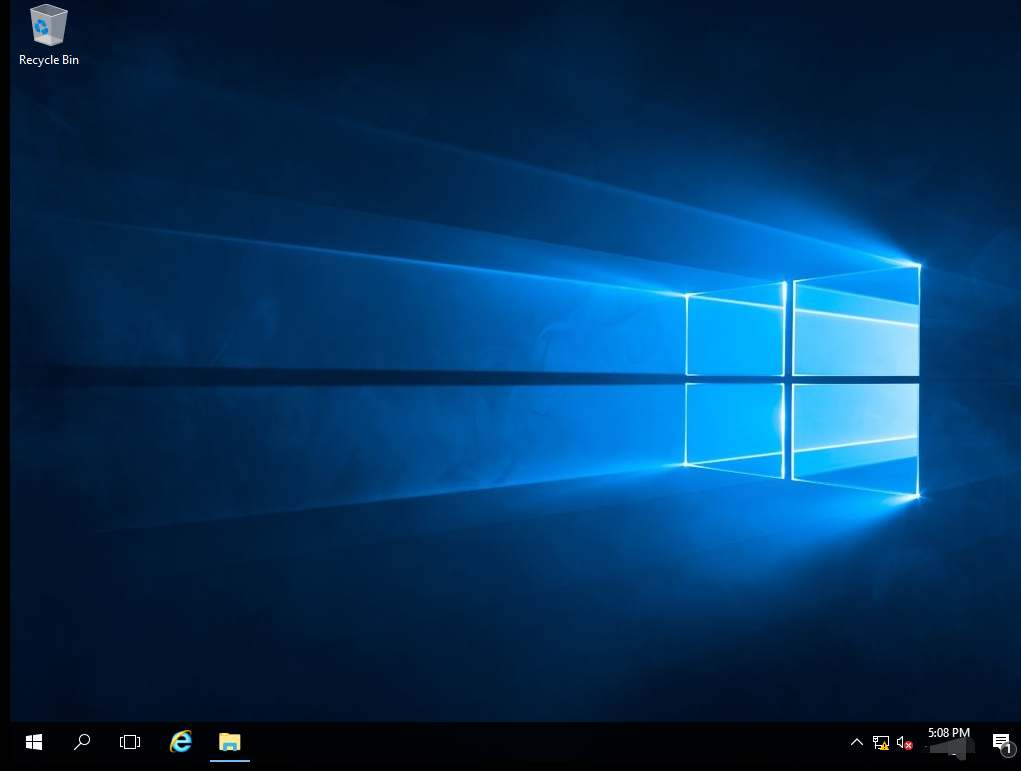
Select
 This Computer at the lower left corner, and you will see the shared folder.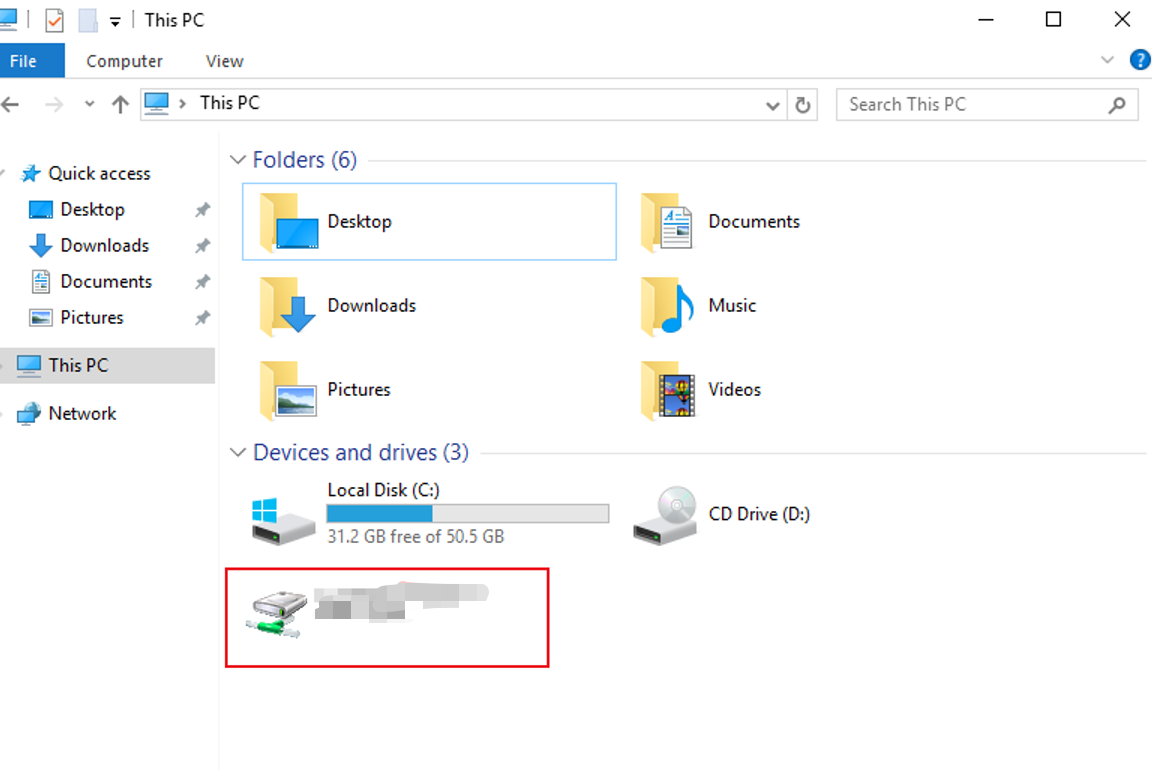
Double-click to open the shared folder, and copy the local files to be uploaded to other hard disks of the Windows cloud server to complete the file upload operation.
For example, copy file A from the shared folder to the 'C:' drive of the Windows CVM.
 at the lower left corner, and in the pop-up window, select the folder you want to upload.
 This Computer at the lower left corner, and you will see the shared folder.
Downloading Files
If you need to download files from the Windows CVM to your local machine, follow the same steps as for uploading files. Copy the required files from the Windows CVM to the shared folder, and the files will be downloaded to the local machine.