

Overview
A common method to upload files to a Windows CVM is to use MSTSC (Microsoft Terminal Services Client) for remote desktop connection. This document guides you to use a local Windows computer to upload files to a Windows CVM via a remote desktop connection.
Prerequisites
Please ensure that the Windows CVM can access the public network.
Directions
Note:
The following steps use a local Windows 7 computer as an example. The detailed steps may vary slightly depending on the operating system.
- On the local computer, use the shortcut keys Windows + R to open the Run window.
- In the pop-up Run dialog box, type mstsc and click OK to open the Remote Desktop Connection dialog box.
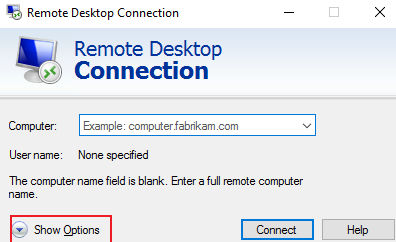
- In the Remote Desktop Connection dialog box, input the IP address of the CVM public network and click Options. As shown below:
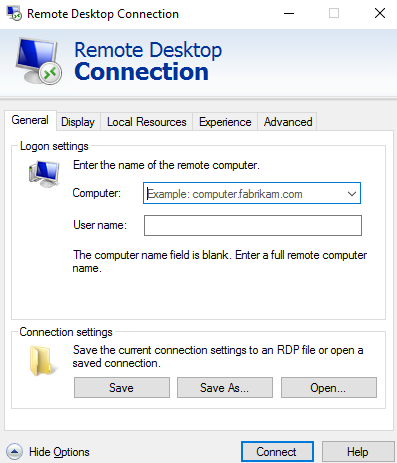
- On the General tab, input the IP address of the CVM public network and the username Administrator. As shown below:
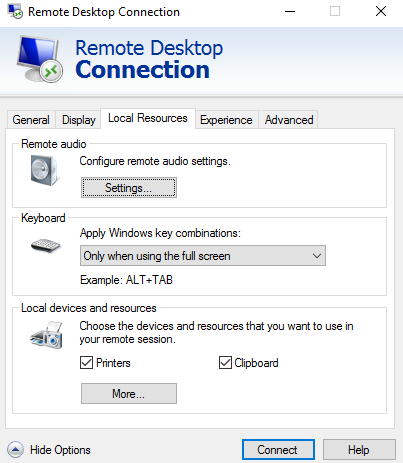
- Select the Local Resources tab and click Details. As shown below:
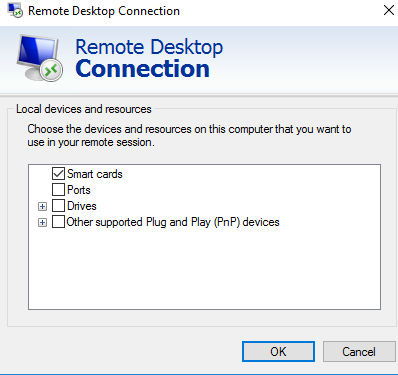
- In the pop-up Local Devices and Resources window, select the Drive module, check the local hard disk where the file to be uploaded to the Windows CVM is located, and click OK. As shown below:
- After the local configuration is complete, click Connect to remotely log in to the Windows CVM.
- In the Windows CVM, click Start > Computer to see the local hard disk mounted on the CVM. As shown below:
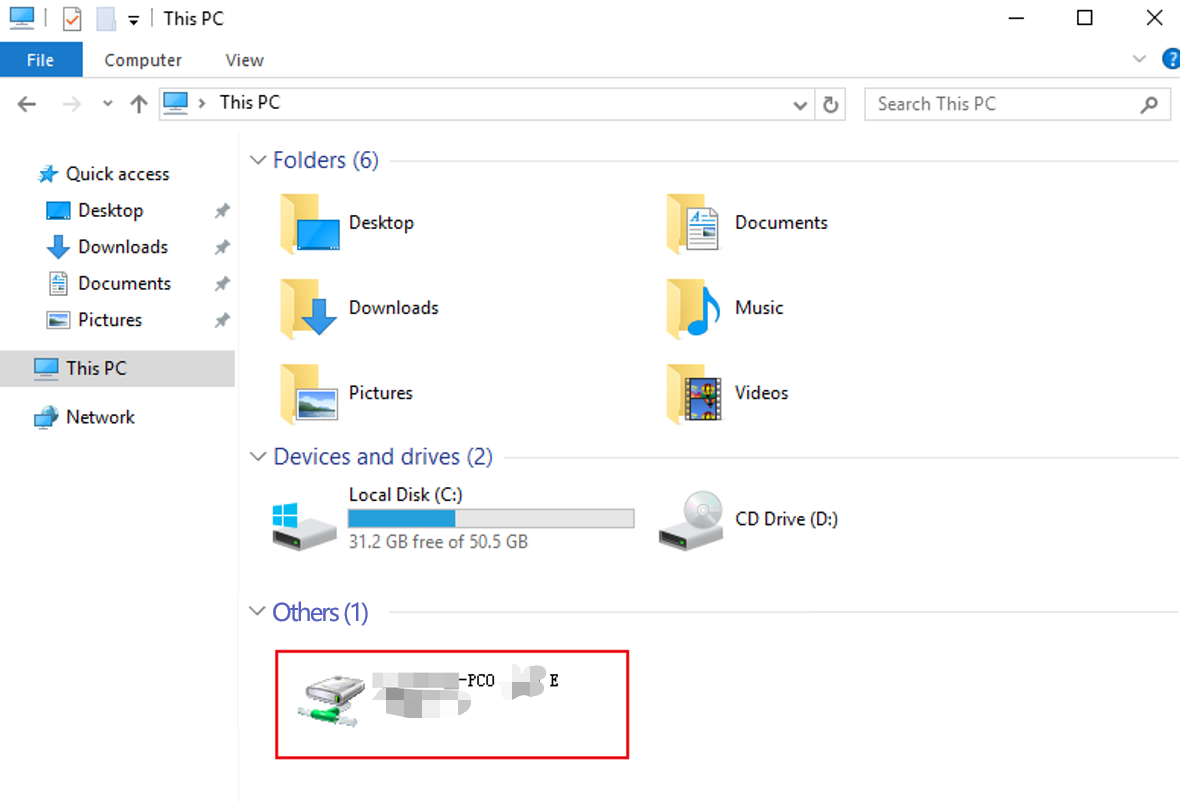
- Double-click to open the local hard disk, and copy the necessary files to be copied from the local drive to another hard drive of the Windows CVM to complete the file upload operation.
For example, copy file A in the local hard drive (E) to the C: drive of the Windows CVM.
