

Overview
Different access permissions to COS resources need to be configured for different teams or users in different enterprises or departments. You can set different operation permissions on buckets or objects through CAM, so that different teams or users in different companies or departments can collaborate with each other.
First, you need to understand several terms: root account, sub-account (user), and user group. For CAM terms and detailed configuration description, see CAM.
Root Account
A root account is also known as a developer. When a user applies for an account, the system creates a root account for logging in to services. A root account is the primary entity for metering and billing resource usage.
By default, a root account owns all permissions to all owned resources, including accessing billing information, modifying the user password, creating users and user groups, and accessing other cloud service resources. By default, only the root account can access resources, and other users need to be authorized by the root account to access resources.
Sub-Accounts (Users) and User Groups
- A sub-account is an entity created by a root account that has a definite ID and login credential and can log in to the Converge Cloud console.
- Sub-accounts do not own resources by default and must be authorized by the root account to which they belong.
- One root account can create multiple sub-accounts (users).
- A sub-account can belong to multiple root accounts, and assist multiple root accounts in managing their respective cloud resources. However, a sub-account can only log in to one root account at a time to manage the cloud resources of the root account.
- Sub-accounts can switch developers (root accounts) through the console, and switch from one root account to another.
- When a sub-account logs in to the console, it will automatically switch to the default root account and have the access permissions granted by the default root account.
- After switching developers, the sub-account will have the access permissions authorized by the root account it switches to, and the access permissions granted by the root account before the switch will become invalid immediately.
- A user group is a collection of multiple users (sub-accounts) with the same function. You can create different user groups based on business needs and associate appropriate policies with user groups to assign different permissions.
Directions
Authorizing a sub-account to access COS consists of three steps: creating a sub-account, granting permissions to the sub-account, and accessing COS resources with the sub-account.
Step 1: Create a Sub-Account
In the CAM console, you can create sub-accounts and configure the access permissions granted to the sub-accounts. The specific operations are as follows:
- Log in to the CAM console.
- In the left navigation tree, choose User Management > User to enter the User Management page.
- Click Create User and select a Sub-user type to go to the Create Sub-user page.
- Enter user information as required and click Create.
- Set permissions for the sub-user. Based on the policies provided by the system, you can configure simple policies, such as the access or read-only permission to the COS bucket list.
To configure a more complex policy, proceed to Step 2: Grant permissions to sub-accounts. - After confirming that the entered user information is correct, click Complete.
Step 2: Grant Permissions to the Sub-Account
To grant permissions to sub-accounts, you can use CAM to configure policies for sub-accounts (users) or user groups.
- Log in to the CAM console.
- Choose Policy Management > Create Custom Policy > Create by Policy Syntax to enter the policy creation page.
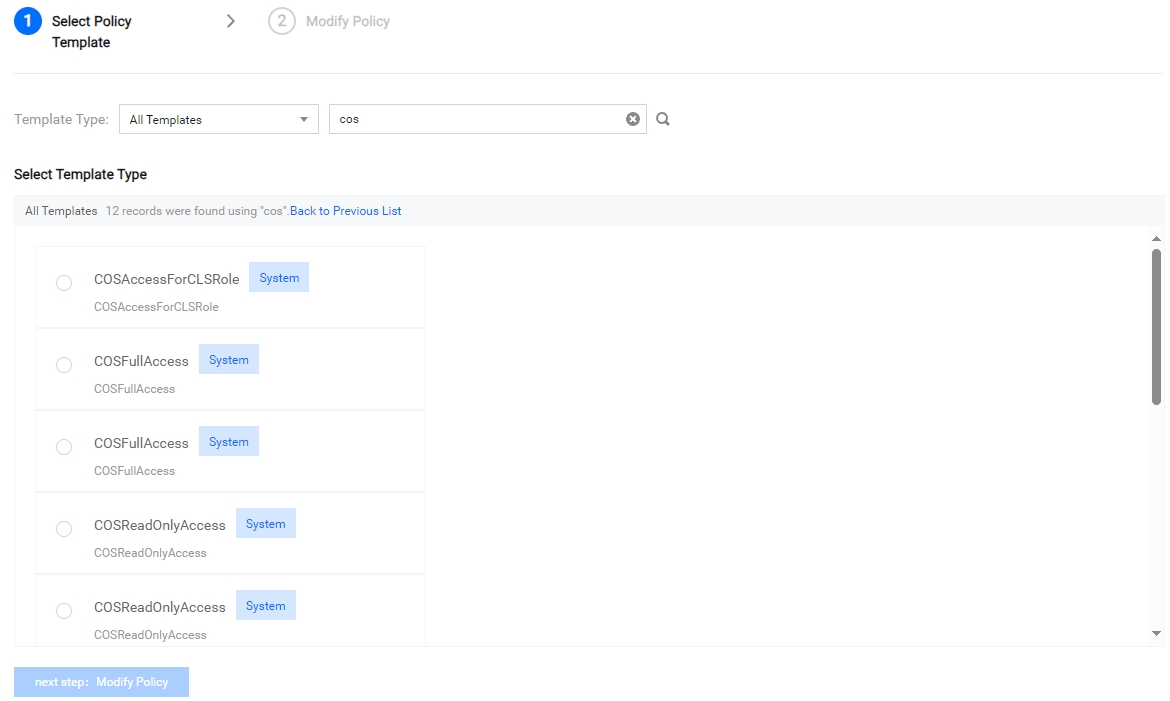
- Available templates include the Blank Template and the Predefined Policy Template associated with COS. Select the policy template you want to grant to the sub-account and click next step: Modify Policy.
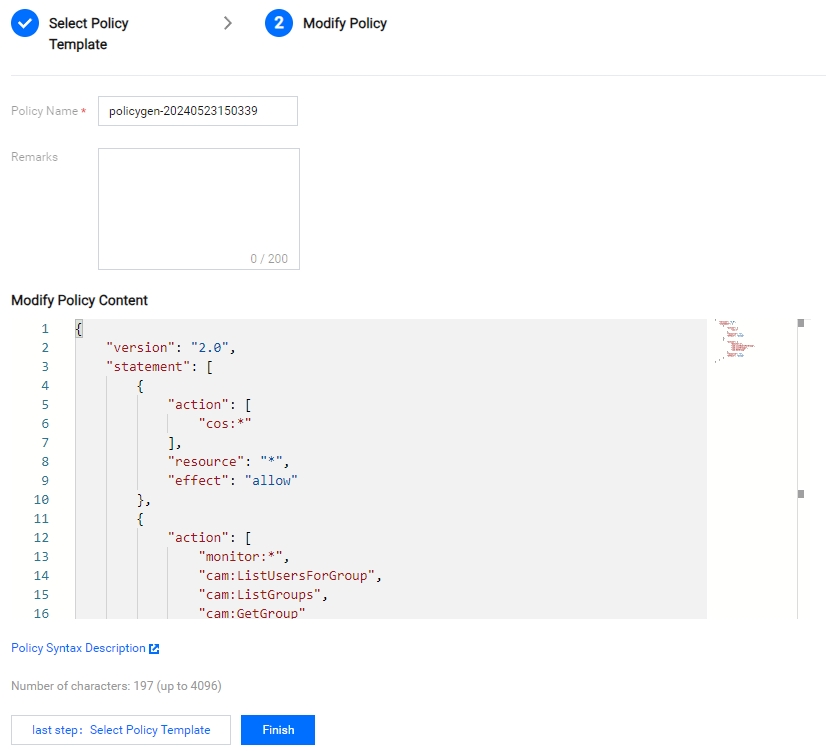
- Enter a policy name that is easy for you to remember. If you select the Blank Template, you need to enter your policy syntax. For details, see Policy Example. You can copy and paste the policy content into the Modify Policy Content input box, and click Finish.
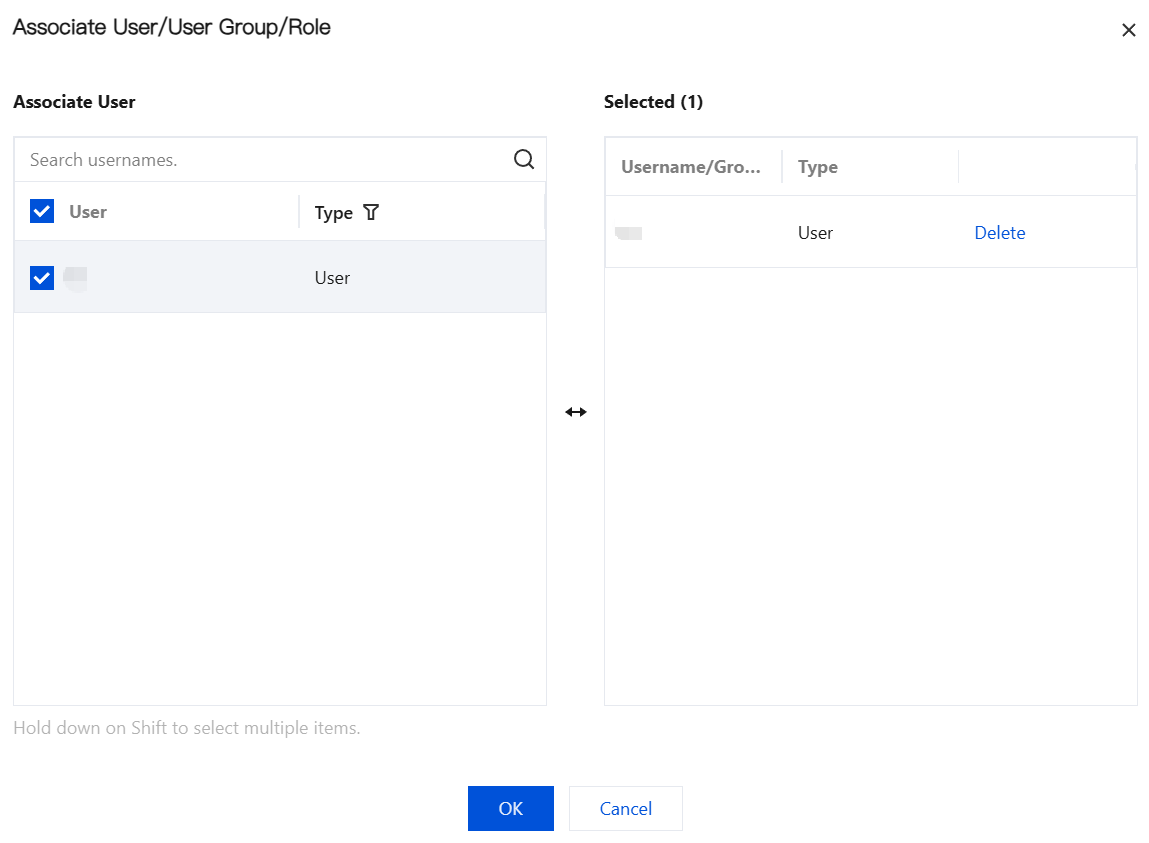
- After the policy is created, associate it with the sub-account.

- After you select the sub-account to confirm authorization, the sub-account can access COS resources within the permission scope.
Step 3: Accessing COS Resources with the Sub-Account
To access COS (API or SDK), the following resources are required: APPID, SecretId, and SecretKey.
When you access COS resources with a sub-account, you need to use the app ID of the root account and the SecretId and SecretKey of the sub-account. You can generate the SecretId and SecretKey of the sub-account in the CAM console.
- Log in to the CAM console with the root account.
- In the left navigation tree, choose User Management > User to enter the User Management page.
- Click the sub-account user name to enter the sub-account information page.
- Select the API Key Management tab and click Create Key to create a SecretId and SecretKey for the sub-account.
In this way, you can access COS resources with the SecretId and SecretKey of the sub-account and the app ID of the root account.Note:
- The sub-account needs to access COS resources by using the XML API or an SDK based on the XML API.
- When a sub-account accesses COS resources, it needs to use the app ID of the root account and the SecretId and SecretKey of the sub-account.
XML-based Java SDK Access Example
Taking the XML-based Java SDK command line as an example, the parameters to be filled in are as follows:
// 1 Initialize identity information
COSCredentials cred = new BasicCOSCredentials("<root account APPID>", "<sub-account SecretId>", "<sub-account SecretKey>");
Example:
// 1 Initialize identity information
COSCredentials cred = new BasicCOSCredentials("1250000000", "AKIDasdfmRxHPa9oLhJp", "e8Sdeasdfas2238Vi");
Example of Access Through COSCMD Command Line Tool
Taking COSCMD config command line as an example, the parameters to be filled in are as follows:
coscmd config -u <root account APPID> -a <sub-account SecretId> -s <sub-account SecretKey> -b <root account bucketname> -r <root account bucket region>
Example:
coscmd config -u 1250000000 -a AKIDasdfmRxHPa9oLhJp -s e8Sdeasdfas2238Vi -b examplebucket -r ap-city
Policy Examples
The following provides policy examples in several typical scenarios. When configuring a custom policy, you can copy and paste the following reference policies into the Modify Policy Content input box and modify them based on the actual configuration.
Configuring Read/Write Permissions for Sub-Accounts
Only read/write permissions are configured for the sub-account. The specific policy is as follows:
{
    "version": "2.0",
    "statement": [
        {
            "action": [
                "name/cos:*"
            ],
            "resource": "*",
            "effect": "allow"
        },
        {
            "effect": "allow",
            "action": "monitor:*",
            "resource": "*"
        }
    ]
}
Configuring Read-Only Permissions for Sub-Accounts
Configure read-only permissions for the sub-account. The specific policy is as follows:
{
    "version": "2.0",
    "statement": [
        {
            "action": [
                "name/cos:List*",
                "name/cos:Get*",
                "name/cos:Head*",
                "name/cos:OptionsObject"
            ],
            "resource": "*",
            "effect": "allow"
        },
        {
            "effect": "allow",
            "action": "monitor:*",
            "resource": "*"
        }
    ]
}
Configuring Read/Write Permissions for a Certain IP Range for a Sub-Account
In this example, only IP addresses in the 192.168.1.0/24 and 192.168.2.0/24 IP ranges have read and write permissions, as shown in the following.
For detailed effective conditions, see Effective Conditions.
{
    "version": "2.0",
    "statement": [
        {
            "action": [
    "cos:*"
            ],
            "resource": "*",
            "effect": "allow",
            "condition": {
                "ip_equal": {
                    "qcs:ip": ["192.168.1.0/24", "192.168.2.0/24"]
                }
            }
        }
    ]
}