

As of Step 4, we have successfully configured a VPN channel, but we still need to configure a routing table to route the traffic in subnet A to the VPN gateway so that the IP range in subnet A can communicate with the IP range in the IDC.
- Log in to the Virtual Private Cloud (VPC) console.
- In the directory on the left, click Subnet and select a region and Virtual Private Cloud, for example, City 1 and
TomVPC. Click the routing table ID associated with subnet A to enter the details page.
- You can click Add Routing Policy.

- In the pop-up box, enter the destination IP range (
10.0.1.0/24), select VPN Gateway for the next hop type, and select the VPN gateway you just created for the next hopTomVPNGw, click OK.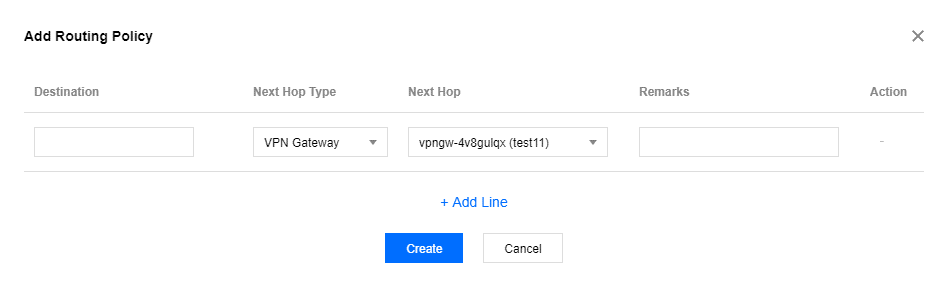
Note: If your local gateway is a VPN gateway deployed on the cloud platform VPC on the other side, repeat the above steps to configure routing for the local gateway.
